Take thorough measurements of the area where you wish to have custom Halloween inflatables installed before placing an order. The measurements taken need to include the width, height and length of the route the inflatables are to travel along, plus any clearances needed around obstacles, entrances and exits, plus any utilities, etc., that may need to be avoided. In addition to these measurements, indicate how the inflatables are to be anchored and where the artist can place markings, etc., as well as any special delivery requirements. Send this information to the designer and to the person preparing the quote for you.
Why Venue Measurement Comes Before Custom Halloween Inflatables
A product image will never show every branch, cable, doorway, customer queue or service route. A measured brief enables the supplier to balance visual impact with practical requirements for circulation and installation.
What a Venue Survey Protects the Buyer From
By surveying, we can avoid issues such as a tunnel blocking a fire route, an entrance failing at the approach, a roof or branch reducing clearance and a packed product getting stuck on the way to installation. Record survey time, checker and marked photographs.
How Do Venue Measurements Become a Custom Halloween Inflatables Drawing?
Your design team can create an initial drawing based on route, clearances, artwork, notes and any other information that would be useful. This can then be checked against the measured plan and marked up to indicate inside passage, external footprint, entry/exit points, artwork/lighting/anchors and maintenance access.
Step 1: Measure the Route, Entrance, Exit and Usable Width
Begin with the visitor journey and select the tunnel, arch or entrance structure later.
Which Route Length, Entry and Exit Points Must Be Recorded?
Take measurements along the full route and mark out the start of the queue and any points of potential overflow, along with any thresholds, photo stops, staff positions, emergency alternative routes and approach direction. Record the distance from where a truck is to unload until it reaches its final position so the installation team can plan how to move items around.
How Should Usable Width Accommodate Queues and Equipment?
Make sure there is a clear path for people to move through your installation internally and that this does not exceed the overall external width. Families, mobility and staff members, lighting and photo opportunities can all affect this. Measure doors, gates, corridors and changes of direction through your installation and remember that a great display area Halloween inflatable tunnel, for example, may not be suitable for a service entrance.
Step 2: Record Height, Overhead Clearance, Obstacles and Utilities
Height is a site constraint, not just something to look at. Record the lowest point of the site and any temporary site conditions that may affect an event.
What Height, Clearance and Overhead Conflicts Must Be Recorded?
Measure the lowest point of your ceiling, a branch, a sign, a cable, a light, a sprinkler or any form of rigging. Compare your desired visual height with the maximum allowed height and take a photograph of each obstruction. Check again once any temporary structures and lights have been put up for your outdoor inflatable Halloween tunnel.
Which Utilities, Surfaces, Anchoring and Service Access Matter?
Mark out locations for outlets, for cable runs, for drainage, for falls, for changes in paving, for grass, for hard standing and for any utility restrictions. Detail the anchoring surface and where access can be gained to the blower, cables, zips and for inspections. Confirm the measurement method and model-specific requirements with the supplier.
Step 3: Turn Measurements into an Arch, Tunnel or Entrance Brief
When measuring a route, choose a structure based on circulation and visibility, not only on the artwork.
When Does an Inflatable Arch Halloween Format Fit Better?
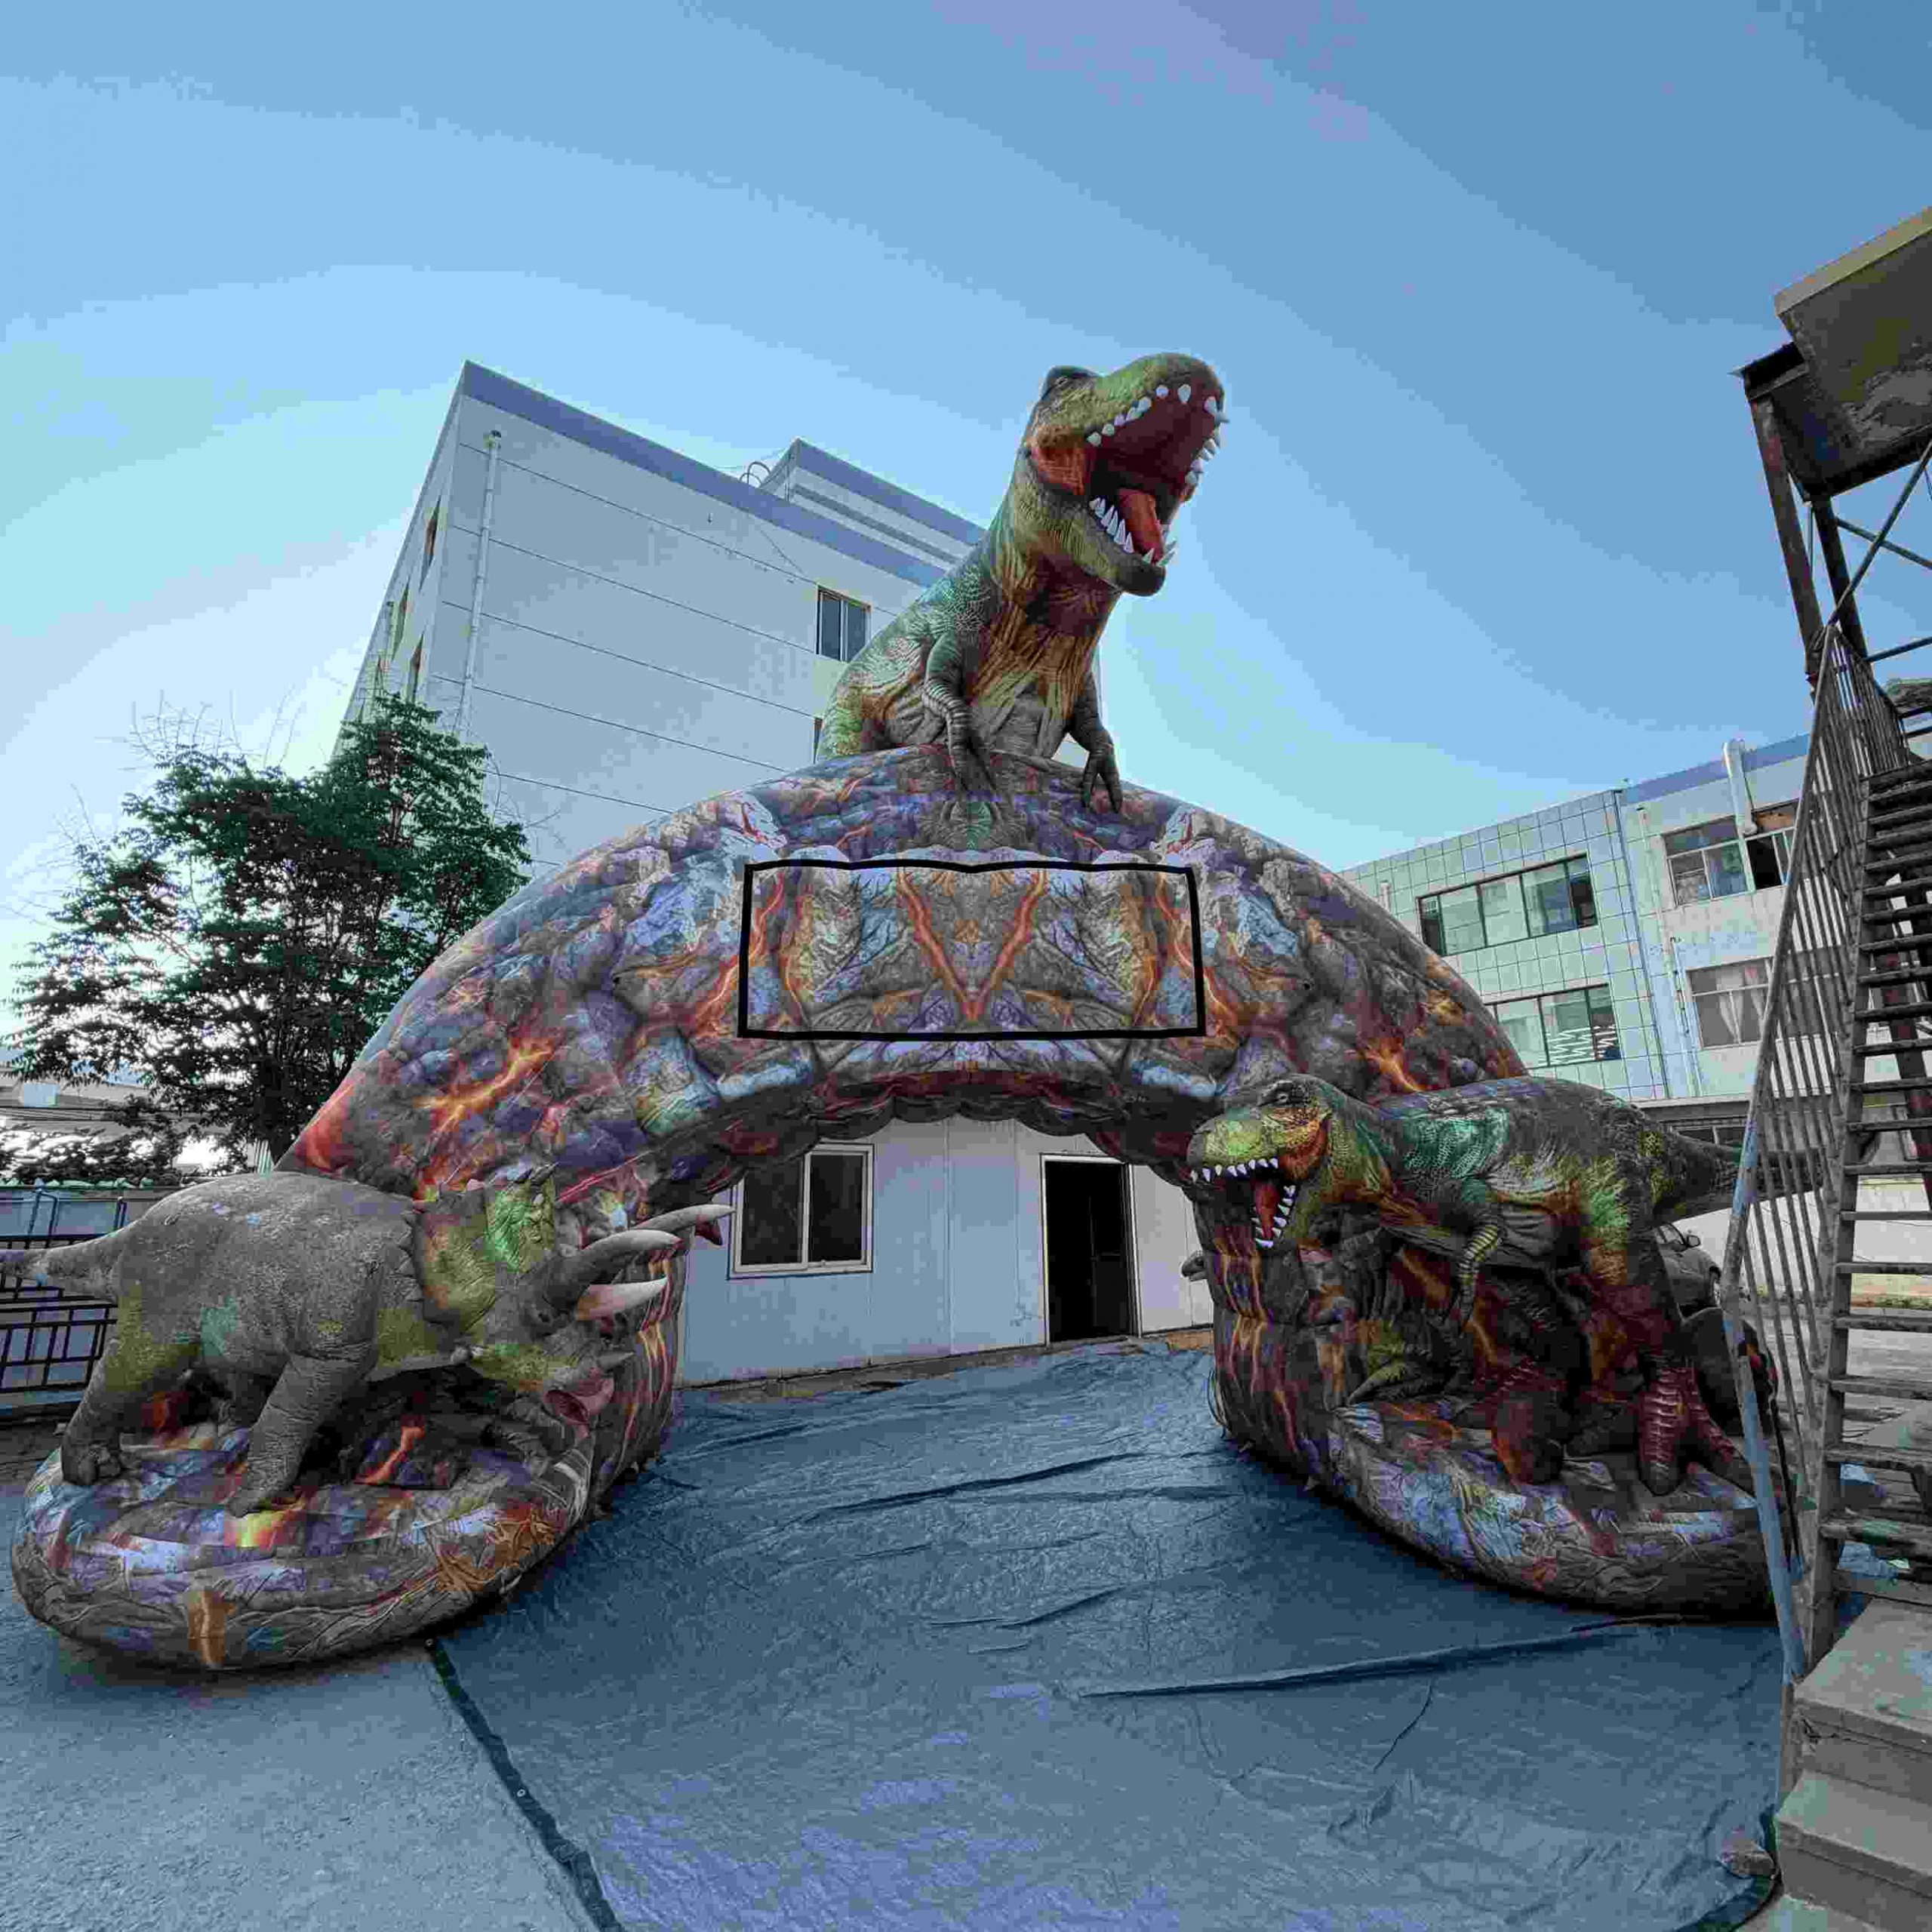
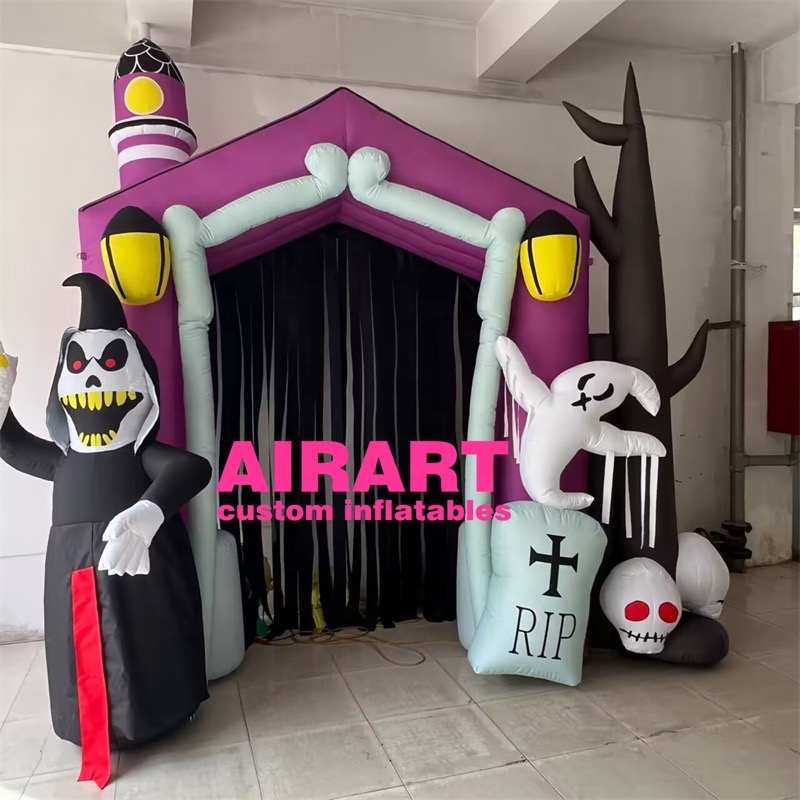
An inflatable arch for Halloween can serve to mark arrival, to create a background for a photo opportunity or to outline a space without enclosing a long route. An inflatable archway for Halloween could serve as a gate, for the end of a frontage, for an event area or as an entrance to a queue. Compare height, open width, side area, artwork and staff view with approach.
How Should an Inflatable Halloween Entrance Be Drawn?
Illustrate the clear opening, footprint, approach, queue, power route, anchors and exit visibility from the inflatable entrance drawing. Clearly indicate whether the inflatable entrance is a standalone feature or forms part of the entrance to a tunnel. Indicate any signs, photo locations, accessibility requirements and neighboring barriers for the inflatable entrance.
Step 4: Add Materials, Graphics, Lighting, Power and Anchoring
Add the product finish and operating fields to the drawing and quotation.
Which Material, Print and Lighting Fields Must Be Recorded?
List the use period, indoor/outdoor location, handling, art, colors, logos/messages and lighting. Determine what material and print process best suits the design. Get information on how to clean and dry the design. Find out if they use LEDs. Tie in the material and weather-resistance requirements statements to your custom Halloween inflatable model.
Which Power, Anchoring, Packaging and Maintenance Fields Are Needed?
Add in voltage and connection point, cable routing, blower position, fixing surface, access for inspection, packed dimensions for storage, route for storage, repair kit and maintenance instructions. Confirm that an operator is assigned and that the supervisor has read the operating and maintenance instructions. For sites with multiple entrances, note the narrowest door, smallest storage area and most restrictive fixing condition.
Step 5: Confirm Access, Maintenance and Costume Boundaries
An enclosed feature will need a staff access plan. Be very clear on the distinction between a fixed feature and a wearable article.
What Access and Maintenance Plan Does a Fixed Tunnel Need?
Illustrate where each component of the Halloween tunnel inflatable can be inspected including the exterior shell, blower, cables, seams, zips, lights and anchors. Specify opening, cleaning, drying, storage and damage reporting procedures. For longer versions of the Halloween tunnel inflatable, additional supervision and an exit strategy may be required and should be noted in the drawing notes.
What Does Halloween Costume Inflation Need Separately?
Inflation Halloween costumes and Halloween costume inflation are wearable units and need to be briefed as such for movement, visibility, fit, power, supervision, cleaning and storage. A tunnel measurement does not make a good costume approval measurement. List both product types separately even if one campaign includes both.
Step 6: Compare Concepts and Validate the Final Drawing
Don’t compare venue concepts solely by their square footage. Compare them by how well each solves the problems of your venue.
How Should a Buyer Compare the Best Halloween Inflatables 2026?
When evaluating the best Halloween inflatables 2026, compare clear passage, sightlines, visual role, installation, anchoring, storage, maintenance, customisation and repeat use. Remember that a dramatic concept could block an exit or a service route, so mark out the inflatable’s footprint and all its clearances on the venue plan first.
What Must Be Checked in Drawing Approval?
Check all the dimensions, clear opening, footprint, route length, clearances, entrances, exits, obstacles, artwork, lighting, blower and power route, anchors and service access, etc., against the photos and measurement sheet. Also record any open questions and who the change approver is.
AIRART Support and Final Supplier Handoff
At AIRART, we use the measured brief to confirm model-specific design, production and quotation requirements.
What Should AIRART Review for a Measured Venue?
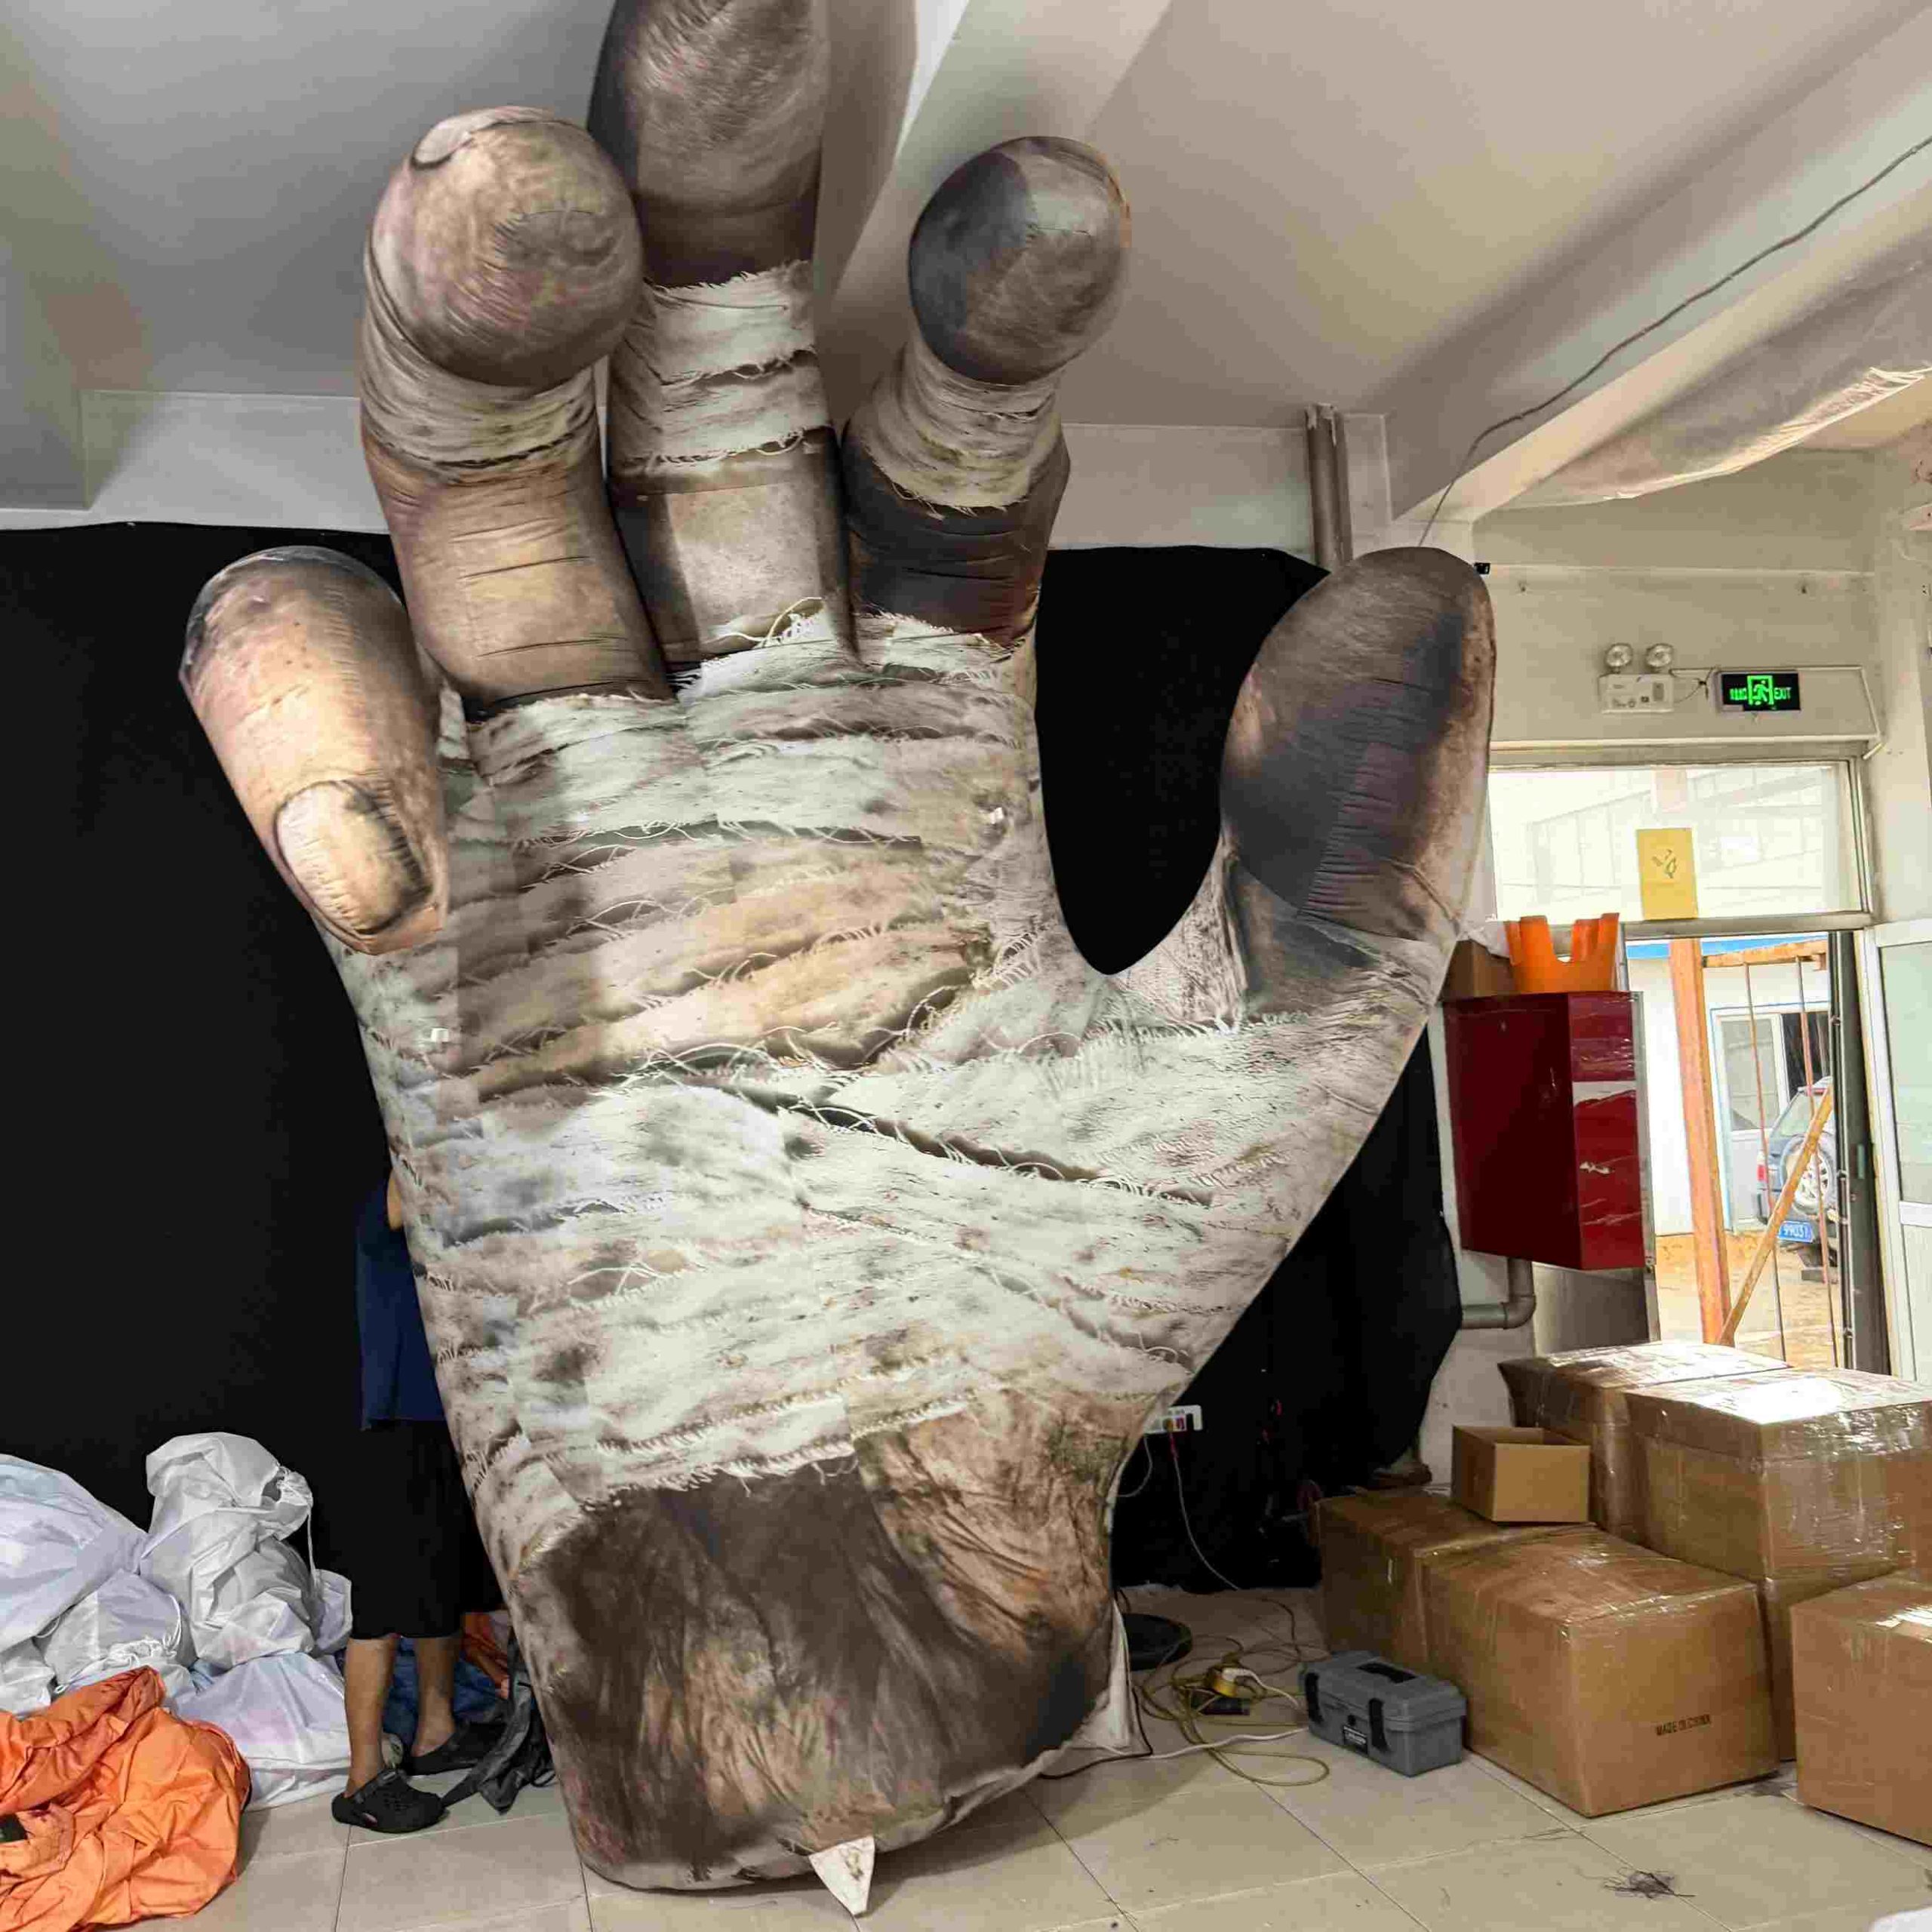
Mark up the venue plan and include corresponding photos. List the route measurements for entry and exit points, overhead obstacles, utilities, anchors, visitor experience areas, artwork placement, lighting arrangements, event dates and the storage access route. Please ask AIRART to flag model-specific items requiring confirmation, including blowers, electrical components, weatherproofing elements and shipping details.
The Quote-Ready Custom Halloween Inflatables Handoff
A quote-ready handoff includes the product, quantities, venue, dimensions, clearances, artwork, optional accessories, packing details, receiver details, delivery timeframe, maintenance questions and approval contact. The narrowest access point and most restrictive conditions need to be clearly communicated in order to allow AIRART to accurately compare a tunnel, arch or entrance and present a correct quote for custom Halloween inflatables.
FAQ
Q: How Do Inflatable Halloween Terms Change a Custom Halloween Inflatables Brief?`
A: An arch can highlight visibility and wayfinding or create a strong photo backdrop, while an entrance highlights the threshold to a queue or tunnel. Tie together the concepts of inflatable archway halloween, inflatable halloween entrance and halloween inflatable entrance with the measured opening, approach, footprint, art, power and anchors.
Q: What Should a Halloween Inflatable Tunnel Drawing Show?
A: The drawing should outline the route of the Halloween inflatable tunnel, indicate a clear width, and detail the footprint, height and length of the tunnel. It should also show the lowest point of the tunnel, entrance and exit, and indicate any queue areas, staff access, utilities, etc. Outline the required power, blower, etc., indicate anchors, and show artwork and lighting details. Outline the method of packing the tunnel and include any maintenance notes and any measurements that still need to be verified.
Q: Final Custom Halloween Inflatables Approval Checklist
A: Review plan, route, clearances, opening, footprint, obstacles, utilities, anchors, artwork, lighting, blower and power, access, cleaning, storage, repair, packaging and shipping information for approver. Verify dimensions against photos for model and note items that will be confirmed against the model-specific technical sheet.